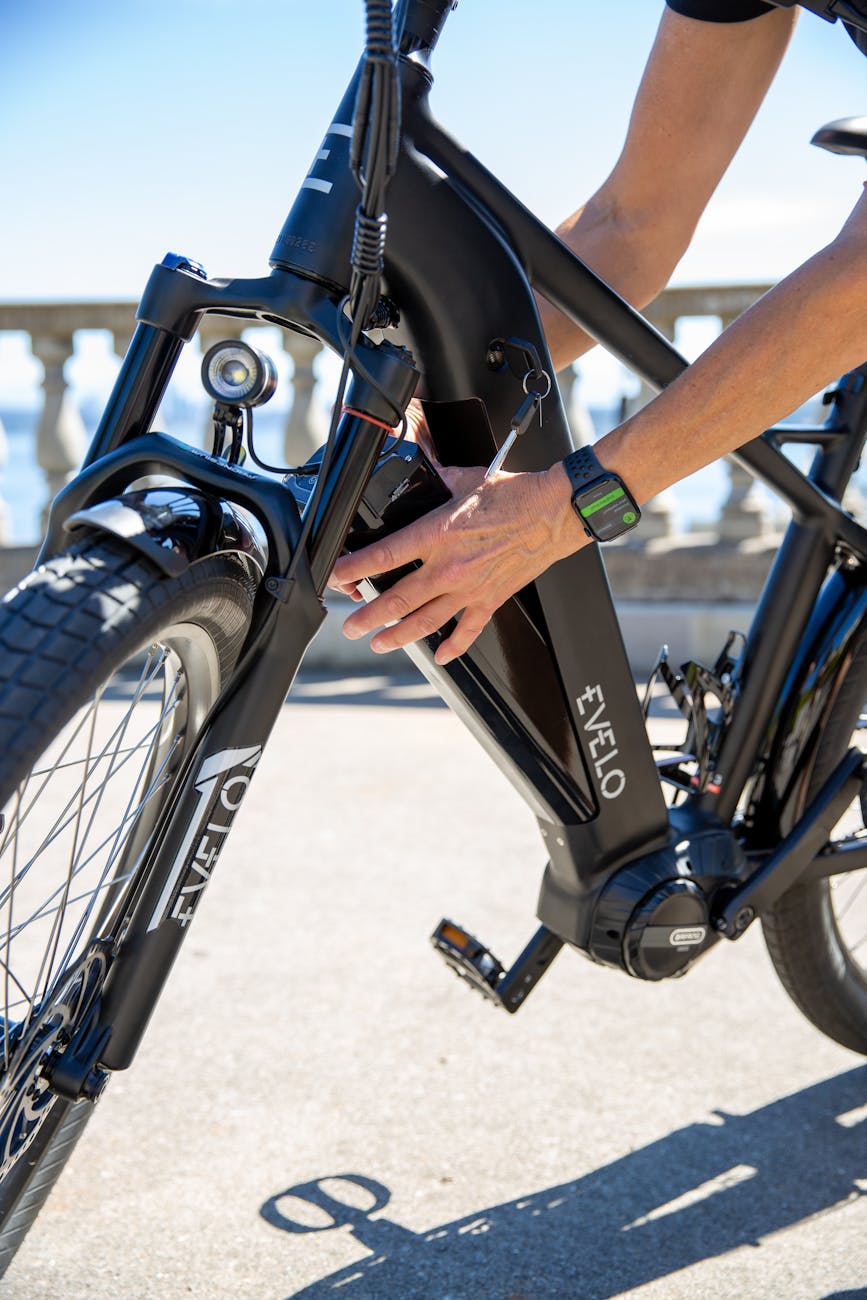
Unveiling the Secrets of Electric Bike Batteries Repair
Electric bikes have gained massive popularity in recent years due to their convenience, eco-friendliness, and cost-effectiveness. One crucial component that powers these electric bicycles is the battery. Just like any other battery, electric bike batteries experience wear and tear over time, eventually requiring repair or replacement to ensure optimal performance. In this ultimate guide, we will delve into everything you need to know about repairing electric bike batteries effortlessly.
Understanding Electric Bike Batteries
Electric bike batteries come in various types, including lithium-ion, nickel-cadmium, and lead-acid batteries. Lithium-ion batteries are the most common due to their high energy density, lightweight, and long lifespan. Understanding the type of battery your electric bike uses is essential before attempting any repairs.
Signs Your Electric Bike Battery Needs Repair
Before diving into the repair process, it’s crucial to identify the signs that indicate your electric bike battery requires attention. Common indicators include reduced range per charge, slow charging times, overheating, and physical damage to the battery casing. If you notice any of these symptoms, it’s time to start the repair process.
DIY Repair vs. Professional Assistance
When it comes to electric bike battery repair, you have two options: DIY repair or seeking professional assistance. For minor issues such as loose connections or minor battery faults, DIY repair can be a cost-effective solution. However, for complex issues or major battery malfunctions, it’s recommended to seek help from a professional technician to avoid further damage.
Steps to Repair Electric Bike Batteries
If you decide to take on the repair process yourself, here are the general steps to repair electric bike batteries:
1. Safety First: Always ensure safety measures are in place, such as wearing protective gear and working in a well-ventilated area.
2. Diagnose the Issue: Identify the specific problem with your electric bike battery by conducting a thorough inspection.
3. Disassemble the Battery Casing: Carefully open the battery casing using the appropriate tools to access the battery cells.
4. Replace Faulty Cells: If any battery cells are damaged or malfunctioning, replace them with new cells of the same type and rating.
5. Reassemble the Battery: Put the battery components back together in the correct order, ensuring all connections are secure.
6. Test the Battery: Once the repair is complete, test the battery to ensure it is functioning correctly before reinstalling it on your electric bike.
Maintenance Tips for Electric Bike Batteries
Preventive maintenance is key to extending the lifespan of your electric bike battery. Here are some essential tips to keep your battery in top condition:
– Regularly charge your battery to avoid deep discharge cycles.
– Store your battery in a cool, dry place away from direct sunlight.
– Avoid overcharging your battery, as this can lead to decreased battery life.
– Clean the battery contacts and terminals regularly to prevent corrosion.
Conclusion
In conclusion, understanding how to repair and maintain your electric bike battery can help you save money and prolong the lifespan of your electric bike. Whether you opt for a DIY repair approach or seek professional assistance, the key is to address any battery issues promptly to ensure optimal performance. By following the steps outlined in this guide and implementing maintenance tips, you can enjoy effortless rides on your electric bike for years to come.
