Electric Bike Batteries: Ultimate Guide to Effortless Repair

Uncover the mysteries of **electric bike batteries** in this ultimate guide to effortless repair. Keep your electric bike running smoothly by learning how to identify signs of battery issues and deciding between DIY repairs or professional assistance. Get ready to hit the road with confidence knowing your electric bikes battery is in top-notch condition!

Unveiling the Secrets of Electric Bike Batteries Repair

Electric bikes have gained massive popularity in recent years due to their convenience, eco-friendliness, and cost-effectiveness. One crucial component that powers these electric bicycles is the battery. Just like any other battery, electric bike batteries experience wear and tear over time, eventually requiring repair or replacement to ensure optimal performance. In this ultimate guide, we will delve into everything you need to know about repairing electric bike batteries effortlessly.

Understanding Electric Bike Batteries

Electric bike batteries come in various types, including lithium-ion, nickel-cadmium, and lead-acid batteries. Lithium-ion batteries are the most common due to their high energy density, lightweight, and long lifespan. Understanding the type of battery your electric bike uses is essential before attempting any repairs.

Signs Your Electric Bike Battery Needs Repair

Before diving into the repair process, it’s crucial to identify the signs that indicate your electric bike battery requires attention. Common indicators include reduced range per charge, slow charging times, overheating, and physical damage to the battery casing. If you notice any of these symptoms, it’s time to start the repair process.

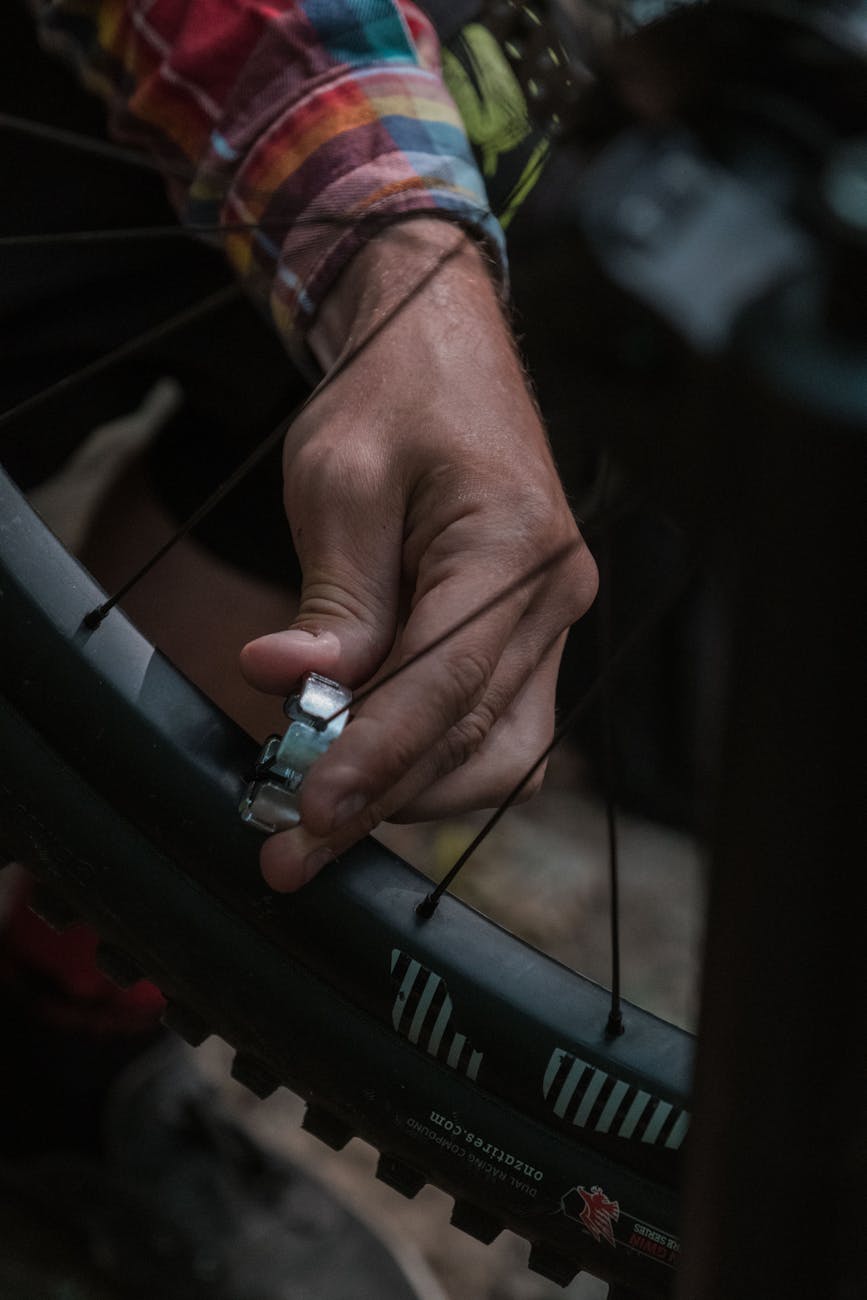
DIY Repair vs. Professional Assistance

When it comes to electric bike battery repair, you have two options: DIY repair or seeking professional assistance. For minor issues such as loose connections or minor battery faults, DIY repair can be a cost-effective solution. However, for complex issues or major battery malfunctions, it’s recommended to seek help from a professional technician to avoid further damage.

Steps to Repair Electric Bike Batteries

If you decide to take on the repair process yourself, here are the general steps to repair electric bike batteries:

1. Safety First: Always ensure safety measures are in place, such as wearing protective gear and working in a well-ventilated area.

2. Diagnose the Issue: Identify the specific problem with your electric bike battery by conducting a thorough inspection.

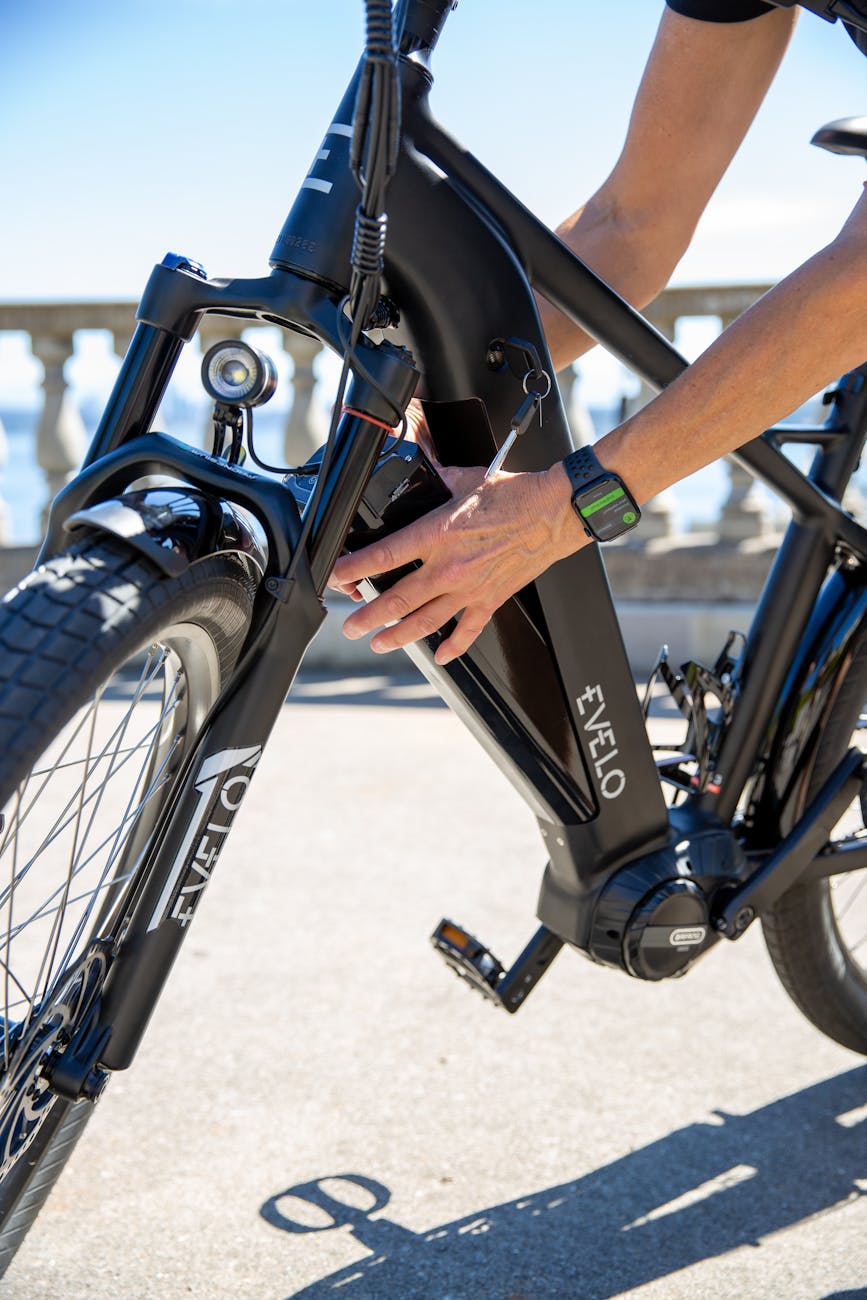
3. Disassemble the Battery Casing: Carefully open the battery casing using the appropriate tools to access the battery cells.

4. Replace Faulty Cells: If any battery cells are damaged or malfunctioning, replace them with new cells of the same type and rating.

5. Reassemble the Battery: Put the battery components back together in the correct order, ensuring all connections are secure.

6. Test the Battery: Once the repair is complete, test the battery to ensure it is functioning correctly before reinstalling it on your electric bike.

Maintenance Tips for Electric Bike Batteries

Preventive maintenance is key to extending the lifespan of your electric bike battery. Here are some essential tips to keep your battery in top condition:

– Regularly charge your battery to avoid deep discharge cycles.
– Store your battery in a cool, dry place away from direct sunlight.
– Avoid overcharging your battery, as this can lead to decreased battery life.
– Clean the battery contacts and terminals regularly to prevent corrosion.

Conclusion

In conclusion, understanding how to repair and maintain your electric bike battery can help you save money and prolong the lifespan of your electric bike. Whether you opt for a DIY repair approach or seek professional assistance, the key is to address any battery issues promptly to ensure optimal performance. By following the steps outlined in this guide and implementing maintenance tips, you can enjoy effortless rides on your electric bike for years to come.

Fix Broken Bike Spoke: Essential Beginners’ Guide

Discover the satisfaction of solving a common cycling woe with our Fix Broken Bike Spoke: Essential Beginners Guide. Learn how to expertly fix broken spokes and get back on the road in no time. Master this essential skill, whether youre a newbie or a seasoned cyclist.

Cycling is a fantastic way to stay active and enjoy the outdoors, but encountering a broken bike spoke can quickly turn a leisurely ride into a frustrating experience. Whether you’re a seasoned cyclist or just starting out, knowing how to fix a broken bike spoke is an essential skill to have. In this beginners’ guide, we’ll walk you through everything you need to know to get back on the road quickly and safely.

Understanding the Problem: Identifying a Broken Bike Spoke

The first step in fixing a broken bike spoke is identifying the issue. A broken spoke can cause your wheel to wobble, make unusual noises, or rub against the brakes. If you suspect a broken spoke, inspect your wheel carefully to locate the damaged spoke. It’s crucial to address the issue promptly to prevent further damage to your wheel or the surrounding spokes.

Gathering the Necessary Tools: What You’ll Need

Before attempting to fix a broken bike spoke, gather the necessary tools. You’ll need a spoke wrench, a replacement spoke of the correct length, a screwdriver, and a pair of pliers. These tools are essential for removing the broken spoke and installing the new one correctly. Having everything on hand will streamline the repair process and ensure your bike is back in working order in no time.

Step-by-Step Guide to Fixing a Broken Bike Spoke

1. Remove the Broken Spoke: Begin by removing the broken spoke from your wheel using a spoke wrench. Carefully unscrew the spoke nipple and detach the broken spoke from the wheel.

2. Install the New Spoke: Insert the replacement spoke into the hub and thread it through the appropriate holes in the wheel. Use your spoke wrench to tighten the nipple, ensuring the spoke is securely in place.

3. Adjust the Tension: Once the new spoke is installed, check the tension of the surrounding spokes. Use your spoke wrench to adjust the tension as needed, ensuring that the wheel is well-balanced and spins smoothly.

4. True the Wheel: To true the wheel, spin it slowly and observe any wobbles or unevenness. Make small adjustments to the tension of the spokes as necessary to straighten the wheel and eliminate any wobbles.

Tips for Preventing Future Breakages

Preventing future broken spokes is essential for maintaining the longevity of your bike. Here are some tips to help minimize the risk of spoke breakage:

Regular Maintenance: Schedule routine maintenance checks to ensure your spokes are in good condition.
Avoid Overloading: Avoid carrying heavy loads on your bike, as this can put excess stress on the spokes.
Proper Inflation: Keep your tires inflated to the recommended pressure to prevent excessive strain on the wheel.

By following these tips and techniques, you’ll be well-equipped to fix a broken bike spoke and get back on the road with confidence. Remember, practice makes perfect, and don’t hesitate to seek professional help if you encounter any difficulties. Happy cycling!

Fix Loose Handlebars on Your Bike: Effortless Solutions to Get You Riding Smoothly

Is the thought of your bikes loose handlebars giving you a wobbly ride? Dont fret! With a few simple steps outlined in this article, youll be tightening those bolts and cruising smoothly in no time. Lets fix loose handlebars together!

Cycling is a fantastic way to stay fit, explore new places, and enjoy the great outdoors. However, one common issue that cyclists encounter is loose handlebars on their bikes. A wobbly or loose handlebar can not only be annoying but also unsafe. If you’re dealing with this problem, don’t worry! In this article, we will discuss some effortless solutions to fix loose handlebars on your bike and get you back to riding smoothly in no time.

Understanding the Problem

Before you can fix the issue, it’s essential to understand why your handlebars are loose. The most common reason is that the bolts that secure the handlebars to the stem may have come loose due to regular wear and tear or vibrations while riding. Another reason could be that the handlebar clamp is not tightened securely.

Tools You Will Need

To tighten your loose handlebars, you will need a few tools. These include an allen wrench or hex key that fits the bolts on your handlebars and stem. Make sure you have the correct size to avoid damaging the bolts.

Tightening the Bolts

Start by securing your bike in a stable position, either using a bike stand or by flipping it upside down. Use the allen wrench to tighten the bolts on the handlebars and stem. Turn the bolts clockwise to ensure a snug fit. Check all the bolts around the handlebar clamp to make sure they are all tightened properly.

Adjusting the Stem

If tightening the bolts doesn’t solve the issue, you may need to adjust the stem. Loosen the bolts on the side of the stem that clamp onto the fork steerer tube. Align the handlebars so that they are straight and at the desired angle. Make sure they are centered before tightening the bolts back up.

Applying Grip Paste

Sometimes, using grip paste can help create a tighter bond between the handlebars and stem. Apply a small amount of grip paste to the contact points between the handlebars and stem before tightening the bolts. This can add friction and prevent the handlebars from slipping.

Checking for Alignment

Once you have tightened the bolts and adjusted the stem, it’s crucial to check the alignment of your handlebars. Make sure they are positioned symmetrically and at the correct angle for your riding comfort. Test the handlebars by gently turning them from side to side to ensure they are securely in place.

Final Thoughts

Fixing loose handlebars on your bike doesn’t have to be a complicated task. By following these effortless solutions and taking the time to properly tighten and adjust your handlebars, you can enjoy a smooth and safe ride every time. Remember to regularly check and maintain your bike to prevent issues like this from occurring in the future. Now that you’ve fixed your loose handlebars, hop on your bike and hit the road with confidence!