Fix Noisy Bike Bottom Bracket with Effortless Solution

Is your bikes bottom bracket causing ruckus on your ride? Say goodbye to those annoying creaks and clunks with our effortless solution to fix a noisy bike bottom bracket. Enjoy a smooth, quiet cycling experience once again!

Subheading (H2): Understanding the Issue of a Noisy Bike Bottom Bracket

Subheading (H2): Effortless Solutions to Fix a Noisy Bike Bottom Bracket

Subheading (H3): Regular Maintenance Tips to Prevent Noisy Bike Bottom Bracket

Cycling enthusiasts know the frustration that comes with a noisy bike bottom bracket. Whether you’re a casual rider or a dedicated cyclist, dealing with a clunky, creaking bike can put a damper on your riding experience. The bottom bracket is a crucial component of your bike that connects the crankset to the frame, allowing for smooth pedaling motion. When this part starts making noise, it can be a sign of wear and tear or lack of proper maintenance. In this article, we will explore the common causes of a noisy bike bottom bracket and provide you with effortless solutions to fix the issue.

Understanding the Issue of a Noisy Bike Bottom Bracket

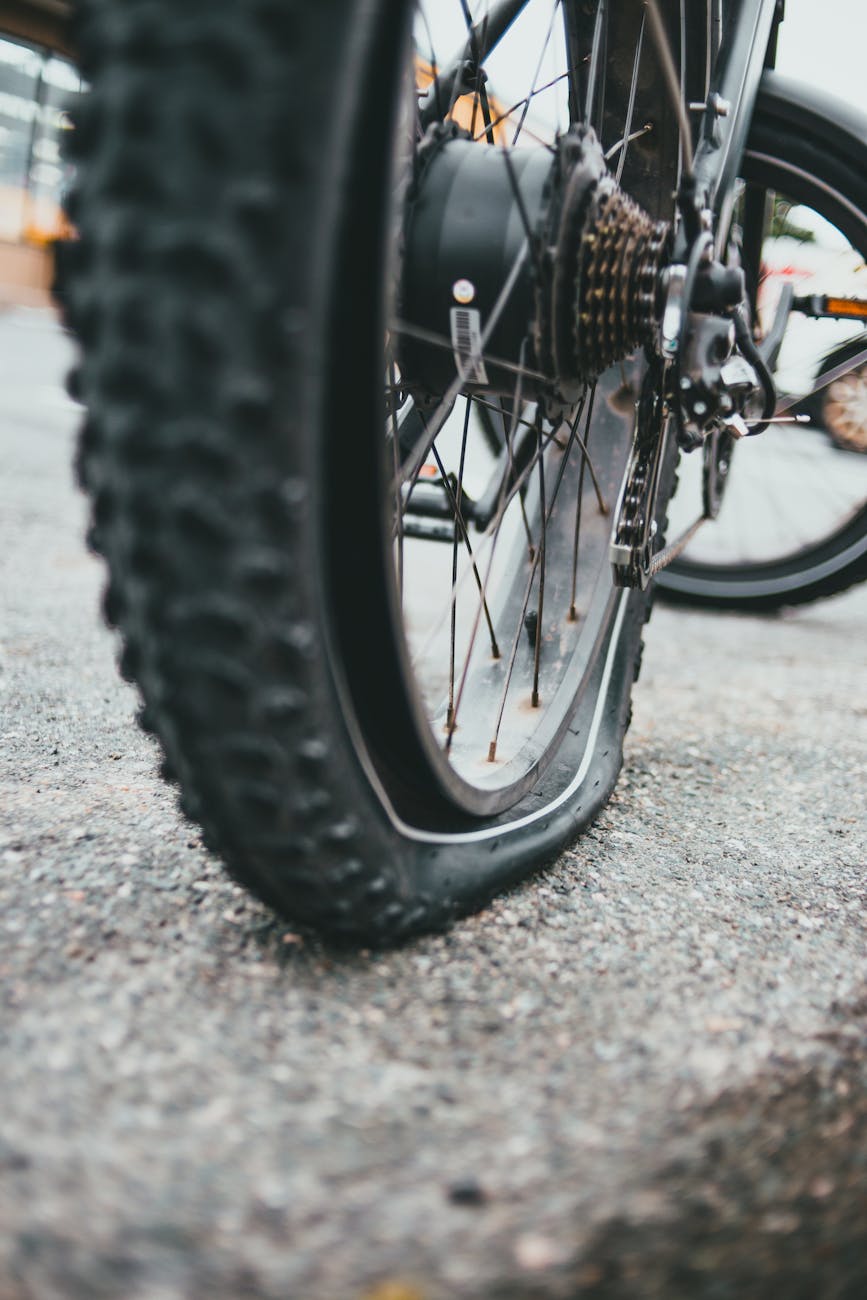
A noisy bike bottom bracket can be caused by various factors, such as dirt and grime buildup, worn-out bearings, or improper installation. The first step in resolving the issue is to identify the source of the noise. If your bike is making a clicking, creaking, or grinding sound while pedaling, chances are it’s coming from the bottom bracket area. Ignoring the noise can lead to further damage to your bike’s components and affect your riding performance.

Effortless Solutions to Fix a Noisy Bike Bottom Bracket

One of the most straightforward solutions to fix a noisy bike bottom bracket is to clean and lubricate the component. Start by removing the crankset to access the bottom bracket. Wipe away any dirt or debris that may have accumulated around the bottom bracket shell. Inspect the bearings for signs of wear or damage and replace them if necessary. Apply a generous amount of grease to the bearings and reassemble the crankset.

If cleaning and lubricating the bottom bracket does not resolve the noise issue, it may be time to replace the bearings or the entire bottom bracket assembly. Consult your local bike shop or a professional mechanic for assistance in choosing the right replacement parts. Investing in high-quality bearings and components will ensure a smoother and quieter ride.

Regular Maintenance Tips to Prevent Noisy Bike Bottom Bracket

To prevent future occurrences of a noisy bike bottom bracket, it’s essential to incorporate regular maintenance into your biking routine. Here are some tips to help keep your bottom bracket in top condition:

1. Clean your bike regularly to remove dirt and grime buildup.
2. Check the bottom bracket for signs of wear or damage periodically.
3. Replace worn-out bearings as soon as you notice any noise or play.
4. Avoid over-tightening the bottom bracket during installation.
5. Use quality lubricants to keep the bearings running smoothly.

By following these maintenance tips and addressing any noise issues promptly, you can enjoy a quieter and more enjoyable riding experience. Remember that taking care of your bike’s components will not only prolong their lifespan but also enhance your overall cycling performance.

In conclusion, a noisy bike bottom bracket is a common issue that can be easily resolved with the right knowledge and tools. By understanding the causes of the noise, implementing effortless solutions, and practicing regular maintenance, you can keep your bottom bracket in optimal condition and enjoy a smoother, quieter ride. Don’t let a noisy bike bottom bracket hold you back from exploring new cycling adventures—take action today and get back on the road with confidence.

Emergency Bike Repairs: Essential Tips for Quick Fixes

When your bike hits a bump in the road, dont panic – youve got this! With our essential tips for emergency bike repairs, youll be back on two wheels in no time. Stay prepared and pedal on with confidence through unforeseen obstacles.

Biking is an enjoyable and eco-friendly mode of transportation and recreation, but like any mechanical device, bikes can encounter issues that may require immediate attention. Whether you are commuting to work, going for a leisurely ride, or participating in a cycling event, knowing how to perform emergency bike repairs can save you from being stranded and ensure a smooth and safe journey. In this article, we will discuss essential tips for quick fixes to common bike problems that you may encounter while out on the road.

Identifying the Issue:

The first step in addressing any bike problem is to pinpoint the issue. If you experience a sudden change in the ride quality, strange noises, or difficulty pedaling, it’s crucial to stop and inspect your bike. Look for visible signs of damage, such as a flat tire, loose bolts, or a broken chain.

Fixing a Flat Tire:

One of the most common issues cyclists face is a flat tire. To fix a flat tire quickly, carry a spare inner tube, tire levers, and a portable pump with you. Start by removing the wheel from the bike, using tire levers to take off the tire, and replacing the inner tube with the spare. Make sure to check the inside of the tire for any sharp objects that may have caused the flat before reassembling the wheel.

Adjusting the Chain:

A loose or off-track chain can cause difficulty in pedaling and even lead to chain derailment. To adjust the chain, shift the gears to the smallest cog in the rear and the smallest chainring in the front. If the chain is loose, use the rear derailleur’s barrel adjuster to tighten it. If the chain keeps slipping, check the chain tension and adjust it accordingly with the help of a chain tool.

Brakes Maintenance:

Ensure your brakes are in good condition by checking the brake pads for wear and adjusting the cable tension if necessary. Squeeze the brake levers to assess the braking power and make adjustments using the barrel adjuster on the brake calipers. If your brakes are making unusual sounds or feel spongy, it’s essential to address these issues promptly.

Quick Gear Fixes:

If you experience issues with shifting gears smoothly, this can impact your riding experience significantly. To address gear problems, check the cable tension, limit screws, and derailleur alignment. Make minor adjustments using the barrel adjusters on the shifters to ensure precise gear changes.

Proper Tool Kit:

A well-equipped tool kit can make a significant difference when it comes to emergency bike repairs. Essential items to include in your kit are a multi-tool with various wrench sizes, tire levers, spare inner tubes, a portable pump, chain lubricant, and a patch kit. Familiarize yourself with how to use these tools before hitting the road.

Safety Precautions:

While it’s crucial to know how to perform quick fixes on your bike, safety should always be a top priority. When making roadside repairs, find a safe location off the road, signal to other cyclists and drivers, and wear reflective clothing if riding at night. If the issue is beyond your expertise, don’t hesitate to seek help from a professional bike mechanic.

In conclusion, being prepared for emergency bike repairs can help you handle unexpected situations with confidence and ensure a seamless riding experience. By familiarizing yourself with these essential tips for quick fixes and carrying a well-equipped tool kit, you can tackle common bike problems on the go and get back on the road in no time. Remember, regular bike maintenance and inspections can prevent many issues, but knowing how to address them swiftly can make all the difference in enjoying a trouble-free ride. Happy cycling!