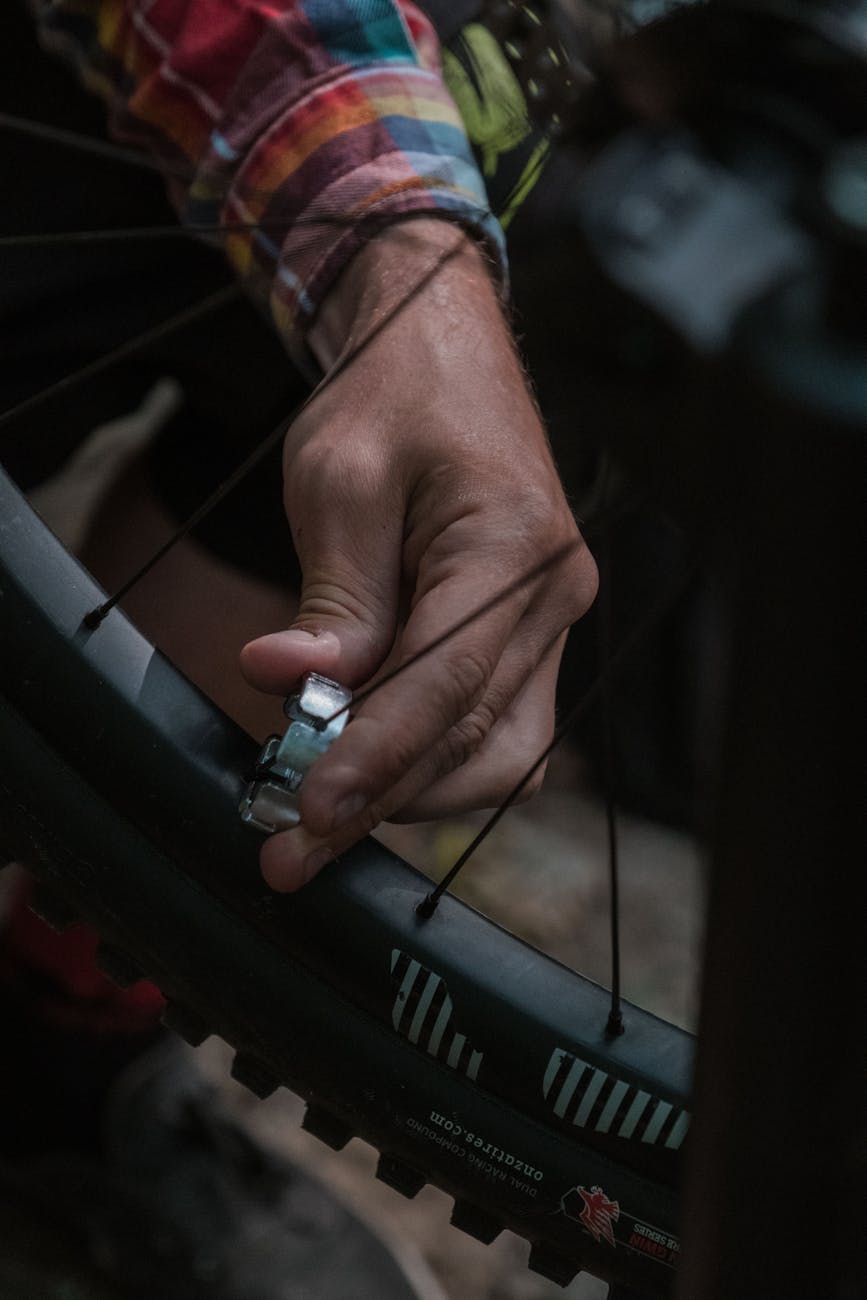
Flat Tire Fixing: Ultimate DIY Guide for Effortless Repair
Flat tires are a common inconvenience that many drivers face at some point. Knowing how to fix a flat tire on your own can save you time, money, and the hassle of waiting for roadside assistance. In this ultimate DIY guide, we will walk you through the step-by-step process of fixing a flat tire with ease.
Preparation is Key
Before you begin fixing a flat tire, make sure you have all the necessary tools and supplies on hand. You will need a spare tire, jack, lug wrench, and a flashlight if you are working in low light conditions. It’s also a good idea to have a pair of gloves to protect your hands while handling dirty or greasy parts.
Locate the Flat Tire
The first step is to locate the flat tire on your vehicle. If you are unsure which tire is flat, you can walk around the car and visually inspect each tire. Look for any signs of damage or obvious deflation. Once you have identified the flat tire, park your car on a flat, stable surface and engage the parking brake.
Jack up the Vehicle
Use the jack to lift the car off the ground, ensuring it is securely positioned under the designated jacking point. Consult your vehicle’s manual for the correct jacking points to avoid damaging the car. Once the car is lifted, use the lug wrench to loosen the lug nuts on the flat tire but do not remove them completely yet.
Remove the Flat Tire
Once the lug nuts are loosened, it’s time to remove the flat tire from the vehicle. Carefully take off the lug nuts and set them aside in a safe place. Slowly pull the flat tire towards you until it is completely free from the hub. Be cautious as the tire can be heavy and might require some effort to remove.
Replace with the Spare Tire
Now that the flat tire is removed, it’s time to replace it with the spare tire. Align the spare tire with the hub and carefully slide it onto the wheel studs. Once the spare tire is in place, hand tighten the lug nuts to secure the tire to the hub. Make sure the tire is positioned correctly before lowering the vehicle back to the ground using the jack.
Secure the Lug Nuts
Once the car is on the ground, use the lug wrench to tighten the lug nuts in a star pattern to ensure even tightening. Be sure to tighten the lug nuts securely but avoid over-tightening them, as this could cause damage to the wheel or studs.
Lower the Vehicle and Finish Up
After securing the lug nuts, lower the vehicle completely to the ground using the jack. Once the car is safely on the ground, remove the jack and stow it away. Double-check that all the lug nuts are tight and the spare tire is securely in place before driving your car.
In conclusion, knowing how to fix a flat tire is a valuable skill that every driver should possess. By following this ultimate DIY guide, you can easily repair a flat tire and get back on the road in no time. Remember to drive cautiously on the spare tire and replace it with a new tire as soon as possible. With a little preparation and the right tools, fixing a flat tire can be a straightforward and empowering experience.