Cycling enthusiasts know the frustration of dealing with cracked bike pedals. However, instead of letting this issue derail your ride, learning how to repair cracked bike pedals can save you time and money. This must-have step-by-step guide will walk you through the process of repairing cracked bike pedals, ensuring you get back on the road quickly and safely.
Identifying the Issue
Before you can start repairing your cracked bike pedals, you need to identify the extent of the damage. Cracks in bike pedals can occur due to excessive wear and tear, impacts, or even manufacturing defects. Begin by closely inspecting the pedal for any visible cracks or damage. Use a flashlight to check for hairline cracks that may not be immediately noticeable.
Tools and Materials Needed
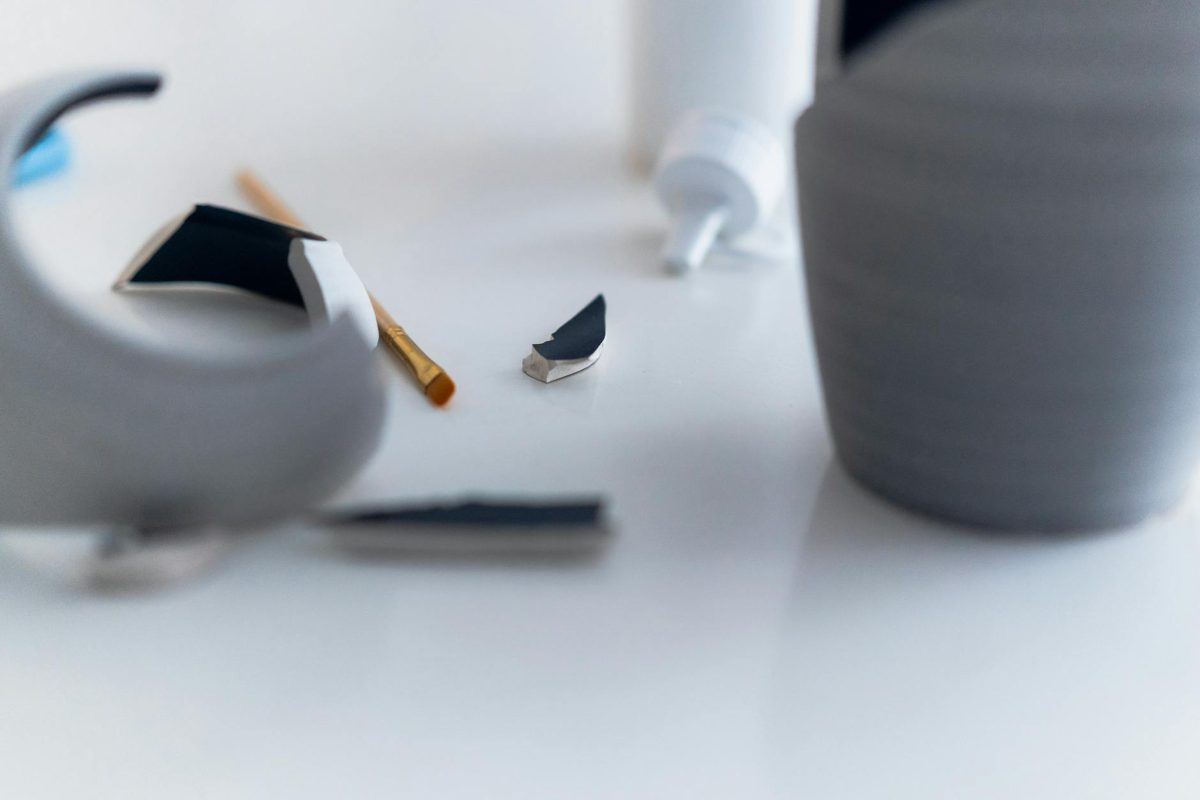
To repair cracked bike pedals, you will need a few essential tools and materials. These include:
– Allen key or wrench
– Epoxy adhesive
– Sandpaper
– Clean rag
– Protective gloves
– Safety goggles
Ensure you have all these items on hand before you start the repair process.
Step-by-Step Repair Guide
Step 1: Remove the Pedal
Start by removing the pedal from the bike using the appropriate tool. Most bike pedals can be easily unscrewed using an Allen key or wrench. Once the pedal is detached, clean it thoroughly with a clean rag to remove any dirt or debris.
Step 2: Sand the Cracked Area
Use sandpaper to gently sand the cracked area of the pedal. This step helps create a rough surface for better adhesion of the epoxy adhesive later on. Be careful not to sand too aggressively, as you don’t want to further damage the pedal.
Step 3: Apply Epoxy Adhesive
Next, apply a generous amount of epoxy adhesive to the cracked area of the pedal. Make sure to spread the adhesive evenly and cover the entire crack. Epoxy adhesive is known for its strength and durability, making it ideal for repairing bike pedals.
Step 4: Clamp and Let Dry
Once you have applied the epoxy adhesive, gently clamp the cracked area together to ensure a tight bond. Allow the adhesive to dry completely as per the manufacturer’s instructions. This usually takes a few hours, so be patient and avoid using the pedal until the adhesive has fully cured.
Step 5: Reattach the Pedal
After the epoxy adhesive has dried and cured, reattach the pedal to your bike using the Allen key or wrench. Make sure it is securely fastened to avoid any issues while riding.
Final Checks and Maintenance
Before hitting the road, give your repaired bike pedal a final inspection to ensure the repair holds up. Test the pedal by applying some pressure to check for any signs of weakness. Additionally, consider applying a protective coating to the pedal to prevent future damage and extend its lifespan.
In conclusion, understanding how to repair cracked bike pedals is a valuable skill for any cyclist. By following this step-by-step guide and being prepared with the right tools and materials, you can quickly and effectively fix cracked pedals, allowing you to enjoy your rides without interruption. Take care of your bike pedals, and they will take care of you on your cycling adventures.